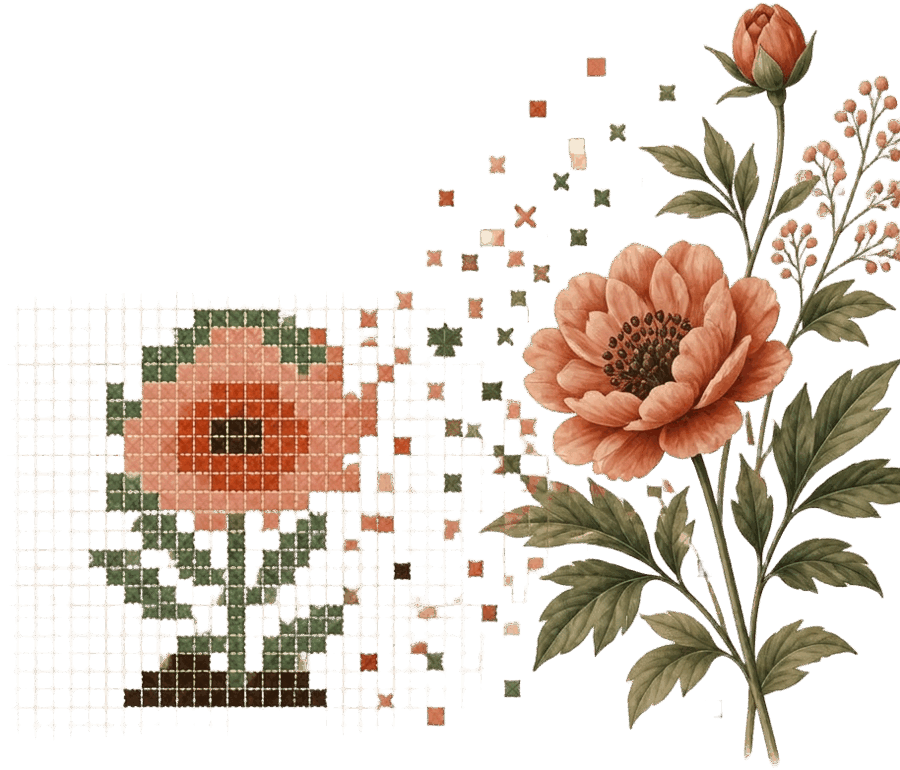
Free Cross Stitch Pattern Maker
This free cross stitch pattern maker turns any photo into a printable chart with DMC, Anchor, or Madeira thread matching, coordinate grid, and skein counts.
DMCAnchorMadeira
This free cross stitch pattern maker turns any photo into a printable chart with DMC, Anchor, or Madeira thread matching, coordinate grid, and skein counts.
This free cross stitch pattern maker turns a picture into a stitchable chart: every pixel becomes one stitch on a numbered grid, and every color is matched to real embroidery floss. PatternNook does this entirely in your browser — pick DMC, Anchor, or Madeira, choose how wide the design should be, and download a print-ready PDF with a full color chart, coordinate grid, thread legend, and skein estimates.
Portraits, pets, wedding photos, landscapes, and pixel art all work. For photos, start around 100–150 stitches wide with 20–30 colors, then fine-tune: fewer colors give a cleaner, more vintage look, while more colors keep photographic detail. The finished-size calculator shows exactly how big your piece will be on any Aida count — before you stitch a single X.
Drag in any PNG, JPG, or WEBP. Transparent backgrounds are fully supported and become unstitched fabric.
Set the stitch width, color count, thread brand, and Aida fabric count — the preview updates instantly.
Print a complete chart with a bold grid every 10 stitches, a thread legend, and skein counts.
When you upload a photo, the converter resamples it to your chosen stitch width: a 120-stitch-wide pattern means the image becomes a grid 120 squares across, and each square becomes one full cross stitch on your fabric. That is why the same photo can produce very different charts at different widths — at 80 stitches a face keeps only its broad shapes, while at 200 stitches you get back eyebrows, catchlights, and flyaway hair.
Then comes color matching. A photo contains thousands of colors, but you will be stitching from a limited palette of floss. The converter reduces the image to the number of colors you set, then maps each one to the closest real thread in the DMC, Anchor, or Madeira range using perceptual color distance — so an awkward digital olive becomes an actual code like DMC 3011 that you can put in a shopping basket. Because everything runs in your browser, you can push the sliders around and watch the chart redraw instantly.
Finished size is simply stitches divided by fabric count. A chart 140 stitches wide comes out 10 in (25 cm) wide on 14-count Aida, but just under 8 in (20 cm) on 18-count. If you know the frame you want to fill, work backwards: multiply the opening's width in inches by your fabric count to get the stitch width to enter. The preview shows the finished size as you adjust, and the cross stitch calculator does the same math for any fabric you are considering. For a first photo project, 100–150 stitches wide is the sweet spot: large enough for a recognizable portrait, small enough to finish in weeks rather than months.
More colors always look better on screen — and are always harder to stitch. Every extra color means more thread changes and more confetti: scattered single stitches that force constant rethreading. As a rule of thumb, portraits need 25–30 colors to keep skin tones smooth, pets and landscapes usually sit happily at 20–25, and logos, silhouettes, or text designs can drop to 5–10. A practical workflow is to generate the chart at 30 colors, then step down and stop just before skin or sky starts to band.
The best candidates share three traits: one clear subject, strong contrast between subject and background, and even lighting. Close-cropped portraits, pets photographed at eye level, wedding couples, houses, and bold landscapes all chart beautifully, because their large shapes survive the reduction to a hundred-odd-stitch grid.
Photos that struggle: group shots where each face ends up only a dozen stitches wide, dim indoor pictures whose noise turns into random speckled stitches, and busy backgrounds that steal half the palette from your subject. Crop tightly before uploading, and if the background is the problem, run the picture through the free background remover first — transparent areas become bare, unstitched fabric, so every color in your limit goes to the subject.
Each color in the legend gets its own symbol, and each marked square on the grid is one full cross stitch. The PDF prints a bold line every 10 squares so you count in blocks of ten instead of square by square, and arrows on the edges mark the exact center of the design. Most stitchers start at the center of the fabric and work outward — it guarantees the design ends up centered with even margins on all sides.
For photo charts, which change color often, many stitchers 'park' threads: finish each 10×10 block completely, leaving lengths of floss waiting at the edge of the block where their color next appears. Others prefer cross-country — stitching one color across a whole area before switching. Either works; parking just keeps confetti-heavy charts tidy. Gridding the fabric first with a water-soluble pen (a line every 10 squares, mirroring the chart) makes counting mistakes almost impossible, and a highlighter for finished chart blocks keeps your place.
Fabric: 14-count Aida is the standard for photo patterns — the squares are big enough to see without magnification and finished sizes stay manageable. White or antique white keeps light skin tones and skies reading correctly. Move to 16- or 18-count for smaller, finer pieces, and leave at least 5 cm (2 in) of spare fabric on every side for framing.
Thread and tools: six-stranded cotton floss in the brand your legend uses — DMC and Anchor are stocked almost everywhere, Madeira widely in Europe. Stitch with two of the six strands on 14-count. Add a size 24 tapestry needle (blunt tip; size 26 for finer counts), a 15 cm (6 in) hoop or Q-snap, and small sharp scissors. Your pattern's legend already estimates skeins per color from the actual stitch totals, and the embroidery floss calculator lets you double-check any color or a different strand count by hand.
Yes — completely free, with no account, no watermarks, and no hidden limits. Every feature, including the PDF download, costs nothing.
Two strands of six-stranded cotton for full crosses on 14-count Aida is the standard. Use three strands for fuller coverage on 11-count, and one or two on 18-count. Cut working lengths around 45 cm (18 in) — longer threads tangle and fray.
DMC, Anchor, and Madeira. Your pattern legend uses the exact color code numbers of the brand you choose, so you can shop straight from the list.
For photos, 20–30 colors keep good detail. For logos or clean designs, 15 or fewer make stitching much easier. You can change the limit at any time and compare.
The size calculator shows it instantly in centimetres and inches for your Aida count. For example, a 140-stitch-wide pattern on 14-count Aida is about 25 cm wide.
Patterns made from your own photos are yours to use however you like — stitch them, gift them, or sell the finished pieces.