PatternNook.com

Needlepoint Pattern Generator

This needlepoint pattern generator converts any photo into a tent stitch canvas chart with diagonal stitch preview, mesh count sizing (10–18 ct), and automatic DMC thread matching.

DMC Threads10–18 ct Canvas100% in-browser

Needlepoint charts from any photo — free

This needlepoint pattern generator converts photos into tent-stitch charts for canvas counts from 10 to 18. Every stitch is matched to DMC thread, and the PDF shows the complete color chart, canvas dimensions in centimetres, and a thread legend with skein estimates so you can shop with confidence.

Portraits, florals, animals, and geometric designs all translate well to needlepoint. Start around 100 stitches wide with 15–20 colors for a clean result — the size calculator shows exactly how big your piece will be on any canvas count before you buy supplies.

How it works

  1. 01

    Upload a photo

    Drag in any PNG, JPG, or WEBP. Clear subjects with simple backgrounds give the sharpest needlepoint charts.

  2. 02

    Adjust the pattern

    Set the stitch width, color count, and mesh count. The canvas size and preview update instantly.

  3. 03

    Download the PDF

    Get the complete chart with a color grid, thread legend, DMC codes, and skein estimates.

How a photo becomes a needlepoint chart

Needlepoint works on open-weave canvas rather than blocky Aida, so the grid the converter builds maps to the mesh holes: a chart 100 stitches wide becomes 100 rows of tent stitches worked over 100 intersections of canvas thread. When you upload a picture the tool resamples it to your chosen stitch width, reduces it to your color limit, then snaps each color to the nearest real DMC shade — an ambiguous digital teal comes back as a code like DMC 597 you can buy off a rack. Everything happens in the browser, the photo never leaves your device, and the sliders redraw the chart live so you can judge the trade-off between detail and stitch count before you commit to any canvas.

The important difference from Aida-based work is that needlepoint covers the canvas completely — bare mesh is meant to disappear under thread. That changes how you think about mesh count, thread thickness, and stitch direction. If you actually want the counted, X-on-fabric look with visible fabric between motifs, the cross stitch tool is the better fit; needlepoint is for solid, tapestry-style coverage.

Mesh count and finished size

Choosing 10, 12, 13, 14, or 18

Mesh count is holes per inch, and it sets both the fineness of your image and the effort involved. The 10 and 12 counts are fast, forgiving, and great for pillows, rugs, and bold geometrics — a beginner can cover ground quickly and the chunky stitches hide small counting errors. The 13 and 14 counts are the classic middle ground where most photographic and portrait designs land: fine enough to render a recognizable face, coarse enough to finish without a magnifier. Reserve 18 mesh for small, detailed pieces like ornaments, eyeglass cases, or miniature portraits where you want painterly gradients and are willing to trade speed for resolution.

A quick word on canvas types. Mono canvas has single threads in a plain weave and is the standard for tent stitch; interlock twists two thin threads at each intersection so the mesh locks and won't distort or fray when cut, which is friendlier for beginners. Penelope is a double-thread canvas whose pairs can be split to work fine detail in one area and bold background in another — handy for portraits with plain surrounds, but overkill for a first project. All chart the same way here; the count is what the tool cares about.

Doing the size math

Finished size is stitch count divided by mesh count. A 140-stitch-wide design comes out 14 in (36 cm) wide on 10 mesh, 10 in (25 cm) on 14 mesh, and under 8 in (20 cm) on 18 mesh — same chart, wildly different pieces. Work backwards from a target: multiply the finished width you want, in inches, by the mesh count to get the stitch width to type in. Aim for 100–150 stitches wide for photo work, and always buy canvas with at least 2–3 in (5–8 cm) of bare margin on every side. You need that unworked border to mount the piece on stretcher bars and, later, to block and frame it.

Thread and coverage: getting the plies right

Because needlepoint has to bury the canvas, the single most common beginner mistake is under-threading — stitching with too few plies so mesh grins through between stitches. Coverage is a relationship between the thread's bulk and the mesh count, and it's worth a test corner before you start the real thing.

Tapestry wool (a single non-divisible strand, like DMC or Appletons) is the traditional workhorse: one strand covers 10, 12, and 13 mesh cleanly and gives that plush, matte, hard-wearing surface. Persian wool comes as three loosely twisted plies you separate at will — all three on 10 mesh, two on 13–14 mesh, a single ply on 18. Because this converter matches to DMC six-strand cotton, the practical plan is to stitch with cotton floss: 6 strands on 10–12 mesh, 4 strands on 13–14 mesh, 3 strands on 18 mesh. Cotton gives crisp definition and a soft sheen that suits the painted-canvas, photographic look this tool produces. Whatever fiber you use, the floss calculator converts the chart's skein estimate to your actual strand count so you don't over- or under-buy.
Tent stitch: continental vs. basketweave

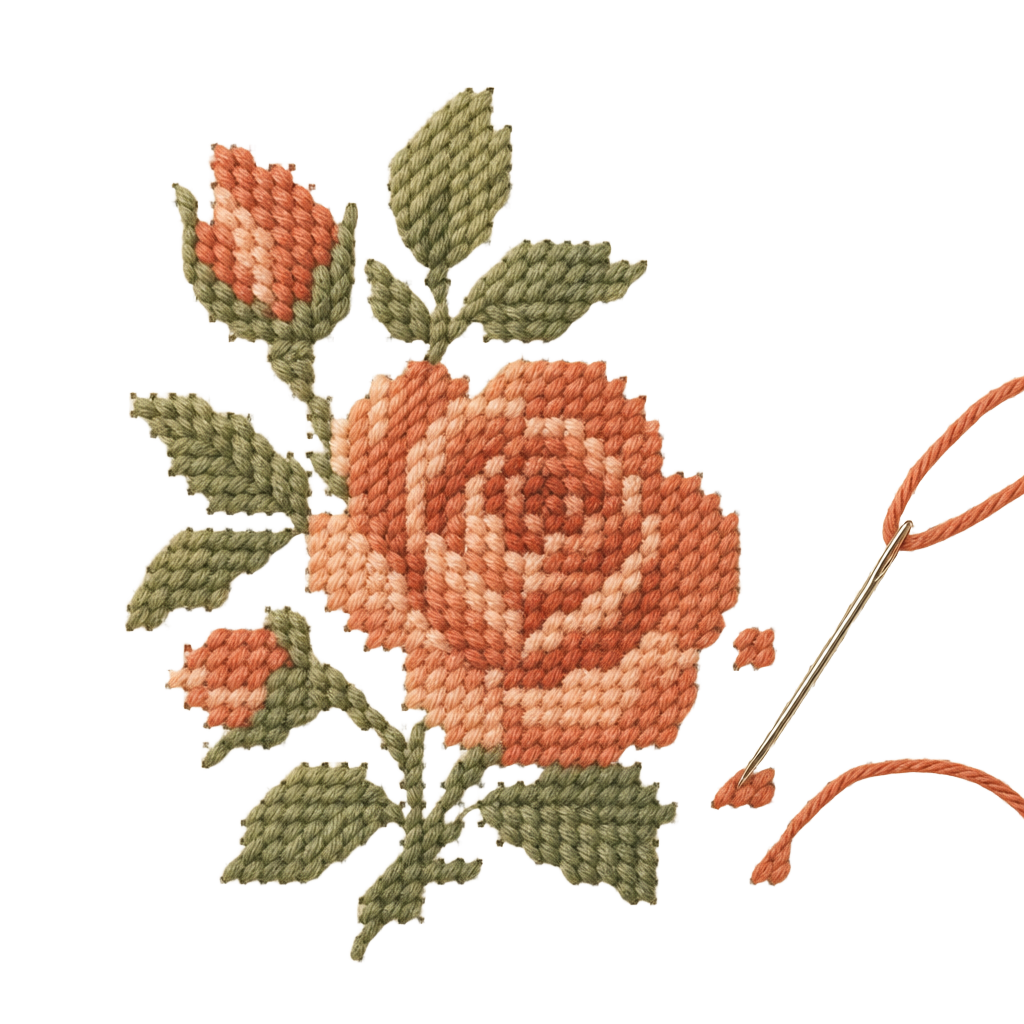
Needlepoint charts here are worked in the tent-stitch family — small diagonal stitches that all slant the same way — but there are two ways to lay them down, and the choice matters more than newcomers expect. Continental stitch works in horizontal rows, each stitch passing behind two mesh threads on the back. It's efficient for outlines, lettering, and thin isolated lines, and it's the natural pick for detail passages where you're changing color every few stitches.

Basketweave is the stitch for filling large areas, especially backgrounds and skin. It's worked in diagonal rows running up and down the canvas, and the back builds up a woven, basket-like texture that reinforces the mesh instead of dragging it. That's the real payoff: continental exerts a constant diagonal pull that racks a big block of canvas into a parallelogram, while basketweave's alternating rows cancel that pull and keep the canvas square. The rule most stitchers settle on is continental for lines and small shapes, basketweave for any filled region more than a few stitches across. Read the chart the same for both — only your needle path changes.

Which images work best

Needlepoint rewards bold, simple imagery. The strongest candidates are subjects with large, confident shapes and clear separation from their background: a single pet at eye level, a cropped portrait, a piece of fruit, a folk-art motif, a strong silhouette. Charted at 13–14 mesh with 15–25 colors, these read cleanly and take on the slightly stylized, painted-canvas quality that makes hand-worked needlepoint look intentional rather than like a fuzzy photo copy.

What fights the medium: group photos where each face collapses to a dozen stitches, busy or cluttered backgrounds that eat half your color budget, and low-contrast or dim images whose midtones turn to speckle. Crop tight and lean into contrast before uploading. If your subject is good but the background is noisy, plan a solid single-color surround — it stitches fast in basketweave and throws all your detail onto the subject, exactly the way hand-painted canvases are designed.

Blocking a skewed canvas

Even with good technique, a finished piece often comes off the needle out of true — pulled into a diamond by continental stitching or by working in-hand without a frame. Blocking squares it back up, and it's a normal finishing step, not a sign you did anything wrong. Working on stretcher bars from the start minimizes distortion, but almost everything benefits from a proper block at the end.

To block: dampen the finished piece thoroughly (mist it or lay it briefly under a wet towel), then pin it onto a padded blocking board covered with gridded cloth or graph paper. Pull the corners out to true 90-degree angles against the grid, and pin every inch or so through the bare margin with rustproof T-pins — never through the stitches. Push the edges until the canvas threads run straight both ways, then leave it pinned until bone dry, usually a day or two. Badly racked pieces may need a second wetting and a firmer stretch. Once dry it holds its shape, giving you the flat, right-angled canvas that makes mounting and framing painless.

Frequently asked questions

Is the needlepoint pattern maker free?+

Yes — completely free with no account needed.

Which canvas counts are supported?+

10, 12, 14, and 18 count canvas. The size readout updates live as you switch counts.

Which thread brand is used?+

Colors are matched to DMC stranded cotton. The legend gives you the exact DMC code for each color so you can shop straight from the list.

Are my photos uploaded?+

No. Everything runs in your browser. Your photos stay on your device.

How many colors should I use?+

15–20 colors works well for most photos. Fewer colors give a bolder graphic look; more colors keep photographic detail.

More free pattern tools

Cross-Stitch Pattern MakerThis free cross stitch pattern maker turns any photo into a printable chart with DMC, Anchor, or Madeira thread matching, coordinate grid, and skein counts.Perler Bead Pattern MakerConvert photos into Perler or Hama bead patterns in three bead sizes (2.5, 5, and 10 mm) — with pegboard counts so you know exactly how many boards you need.Peyote Bead Pattern MakerTurn a picture into a peyote stitch beading chart for Miyuki Delica 11/0 beads — with a staggered chart and a word chart, ready to weave.Bead loom patternsTurn any picture into a bead loom weaving chart with Miyuki Delica colors, a straight grid, legend and word chart.Pattern DesignerDraw your own pattern from scratch — square by square, with reusable motif elements you can stamp into any design.Cross-Stitch CalculatorWork out how big your stitched design will be and how much fabric to cut — for any Aida or evenweave count, in inches and centimeters.Embroidery Floss CalculatorEstimate how many skeins of floss each color needs from your fabric count, strands, and stitch count — before you order thread.Knitting Gauge CalculatorTurn your swatch into an exact gauge, then convert any width and height into cast-on stitches and rows — for knitting and crochet.Background RemoverErase the background from any photo right in your browser — nothing is uploaded. Get a transparent PNG that turns into a clean pattern with no stray background stitches.Diamond Painting Pattern MakerThis diamond painting pattern maker turns any photo into a drill chart — DMC codes, square or round drill preview, canvas size in cm, and bag estimates per colour.Colorwork Knitting Chart MakerThis colorwork knitting chart maker turns photos into Fair Isle and intarsia charts with correct stitch proportions, float length warnings, flat and in-the-round row numbering, and yardage estimates.Tapestry Crochet Pattern GeneratorThis tapestry crochet pattern generator creates tapestry and corner-to-corner (C2C) charts from any photo, with row-by-row written instructions and correct cell proportions.